Unityでオブジェクトを移動させる方法は様々です。positionを書き換える方法やRigidbodyに力を加える方法など、状況によって使い分ける必要があるため、初心者の方は特に迷いやすい部分だと思います。
今回はそんな「オブジェクトの移動方法」をまとめました。
Contents
transformを使った移動
transformを直接書き換えて移動する方法です。スムーズに移動している様に見えますが、実際には瞬間移動を繰り返し行っています。そのため、当たり判定が上手くいかなかったり、オブジェクトを貫通することがあります。transformに直接座標を代入する方法は、シンプルに移動させたい時に便利です。
transform.positionで座標を書き換える
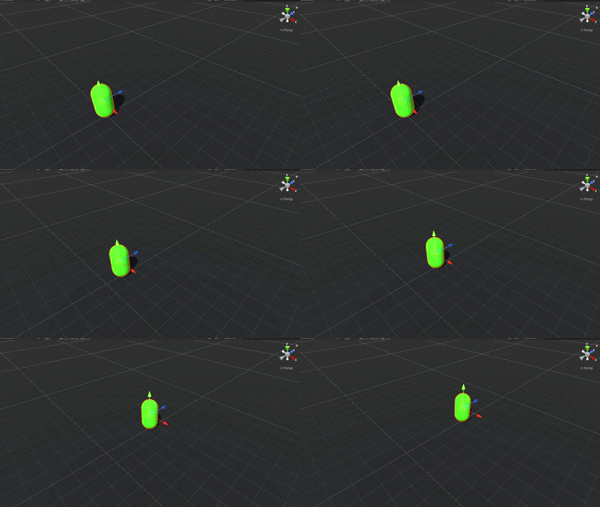
    void Update()
    {
        //座標を書き換える
        transform.position += new Vector3(0, 0, 1) * Time.deltaTime;
}Updateは、実行環境のフレームレートによって呼ばれる回数が異なることに注意してください。Time.deltaTimeはフレーム間で経過した時間を返すため、移動量にTime.deltaTimeをかけると、どの端末でも見かけの移動距離が同じにすることができます。フレームレートによるUpdateのばらつきを抑える方法として、ぜひ覚えておくといいでしょう。
ローカル座標で移動する
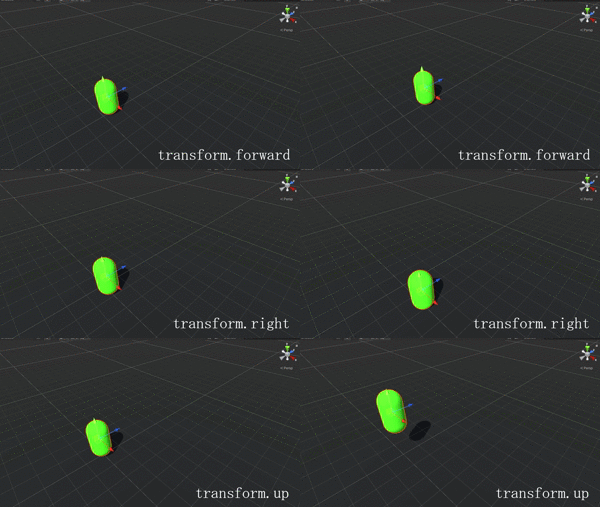
transform.forward / right / up は、オブジェクトが向いている方向をベクトルで返します。モデルによって原点の向きが異なることがあるので気を付けてください。
        //オブジェクトから見て正面
        transform.position += transform.forward;

        //右
        transform.position += transform.right;

        //上
        transform.position += transform.up;

        //方向をそれぞれ逆にする場合は、+を-にする
        transform.position -= transform.forward;
ワールド座標で移動する
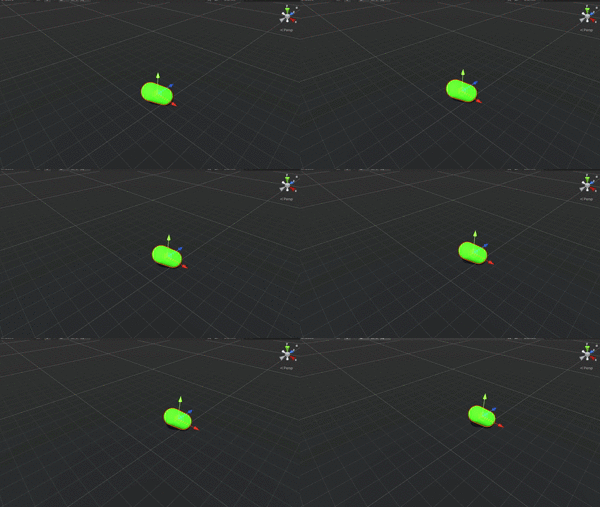
Vector3.foward / right / up は、オブジェクトに関係なく(0, 0, 1)や(0, 1, 0)といったベクトルを返します。そのため、オブジェクトがどんな方向を向いていても、ワールド座標の軸に合わせて移動させることができます。
        //z軸
        transform.position += Vector3.forward;
        //x軸
        transform.position += Vector3.right;
        //y軸
        transform.position += Vector3.up;
Translateによる移動

Translateは、移動距離と方法をベクトルで指定します。そのため、現在の位置座標を考慮しなくて済みます。
    void Update()
    {
        transform.Translate(0, 0, Time.deltaTime);
    }
Vectorクラスを使った移動
ある地点から目標地点まで移動させる関数を使った方法です。等速移動や滑らかな移動など色々な移動方法があります。
MoveTowardsで目標座標を指定する
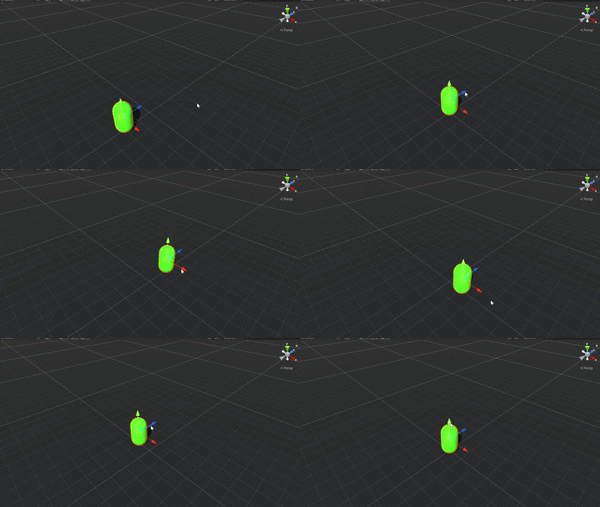
    Vector3 targetPosition;

    private void Start()
    {
        targetPosition = new Vector3(0, 1, 0);
    }

    void Update()
    {
        transform.position =
        Vector3.MoveTowards(transform.position, targetPosition, Time.deltaTime);
    }
Lerpによる二点間の等速直線移動
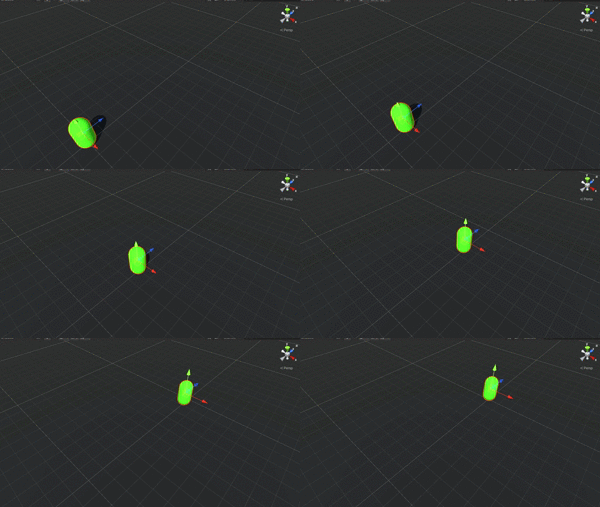
    private float startTime, distance;
    private Vector3 startPosition, targetPosition;

    void Start()
    {
     //スタート時間をキャッシュ
        startTime = Time.time;
     //スタート位置をキャッシュ
        startPosition = transform.position;
        //到着地点をセット
        targetPosition = new Vector3(0, 1, 10);
        //目的地までの距離を求める
        distance = Vector3.Distance(startPosition, targetPosition);
    }

    void Update()
    {
        //現在フレームの補間値を計算
        float interpolatedValue = (Time.time - startTime) / distance;
        //移動させる
        transform.position = Vector3.Lerp(startPosition, targetPosition, interpolatedValue);
    }
LerpとはLinear Interpolate (線形補間)のことで、2点間の直線を計算して移動させてくれます。
引数はVector3.Lerp(スタート地点, 目標地点, 補間値);です。
Slerpによる二点間の球形移動
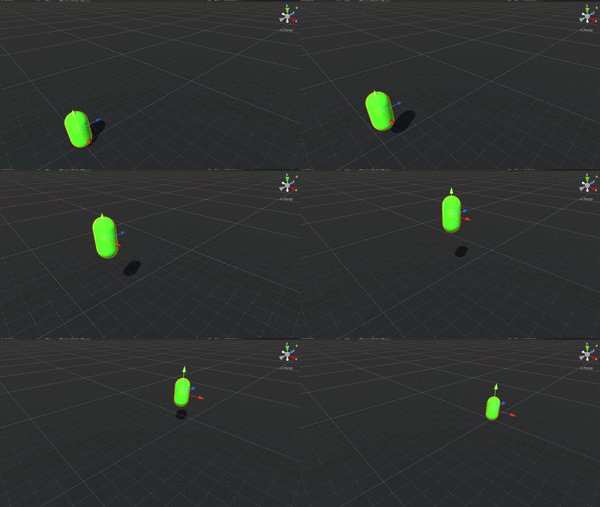
        //球面線形移動
        transform.position = Vector3.Slerp(startPosition, targetPosition, interpolatedValue);
Lerpとよく似ていますが、Slerp(Spherical linear interpolation)は球面上に移動させることができます。
Vector3.SmoothDampによる滑らかな移動
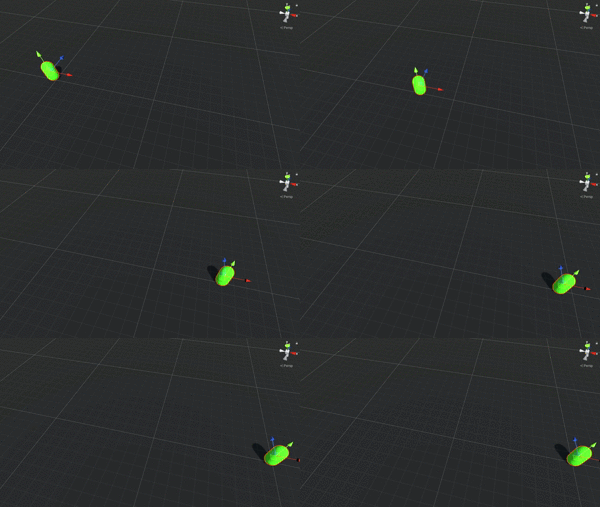
using System.Collections;
using System.Collections.Generic;
using UnityEngine;

public class Player : MonoBehaviour
{
    Vector3 startPosition, targetPosition;
    private Vector3 velocity = Vector3.zero;
    public float time = 1F;

    void Start()
    {
        targetPosition = new Vector3(20, 1, 0);
    }

    void Update()
    {
        transform.position = Vector3.SmoothDamp(transform.position, targetPosition, ref velocity, time);
    }
}
Vector3.SmoothDampは、最初と最後はゆっくり進み、途中は速くなるような移動をします。SmoothDompの特徴として、第三引数に速度の参照を渡せることです。
Rigidbody
物理的な挙動をシミュレーションするRigidBodyを使った移動です。重力や外部からの力に影響を受けるようになり、衝突や当たり判定を正しく取る事ができます。
RigidBodyの移動は、FixedUpdate()の中にコードを書きます。「フレームレートに依らず、一定間隔で実行される」ことで、物理演算が正しく計算され、RigidBodyはFixedUpdate内での使用が推奨されています。
Addforceで力を加え続ける移動
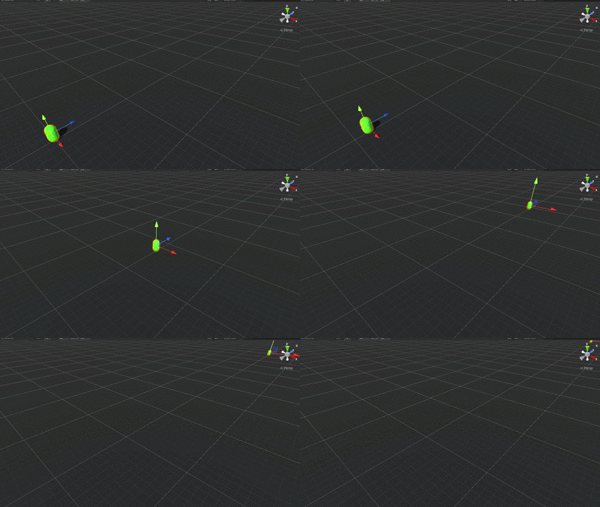
    private Rigidbody rb;

    void Start()
    {
        rb = GetComponent<Rigidbody>();
    }

    void FixedUpdate()
    {
        rb.AddForce(0, 0, 20f);
    }
AddForceで加速し続けます。外部から力が加えられた場合(例えばAddforceのImpulseを使ってジャンプするなど)、その力の影響を受けます。
Addforceで等速移動させる
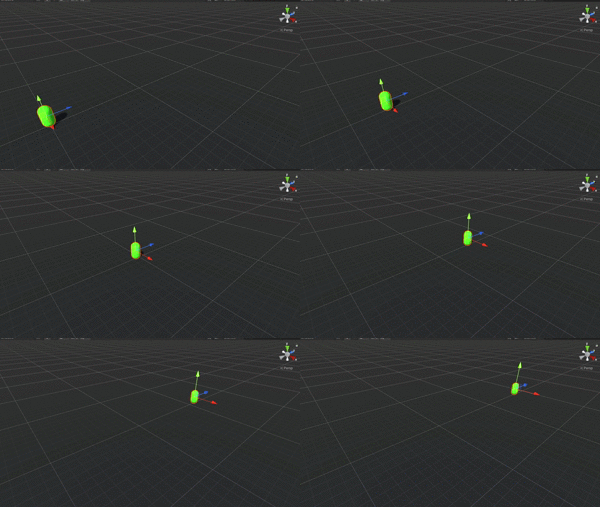
    private Rigidbody rb;
    private float speed = 30f;

    void Start()
    {
        rb = GetComponent<Rigidbody>();
    }

    void FixedUpdate()
    {
        if (rb.velocity.magnitude < 10)
        {
            //指定したスピードから現在の速度を引いて加速力を求める
            float currentSpeed = speed - rb.velocity.magnitude;
            //調整された加速力で力を加える
            rb.AddForce(new Vector3(0, 0, currentSpeed));
        }
    }
AddForceでほぼ等速移動できるようになるコードです。一定の速度を超えたら力を加えないようにしています。さらにspeedからrb.velocity.magnitude(オブジェクトの速度)を引いて常に一定の速度に近づく様に調整しています。
velocityで速度を変更する
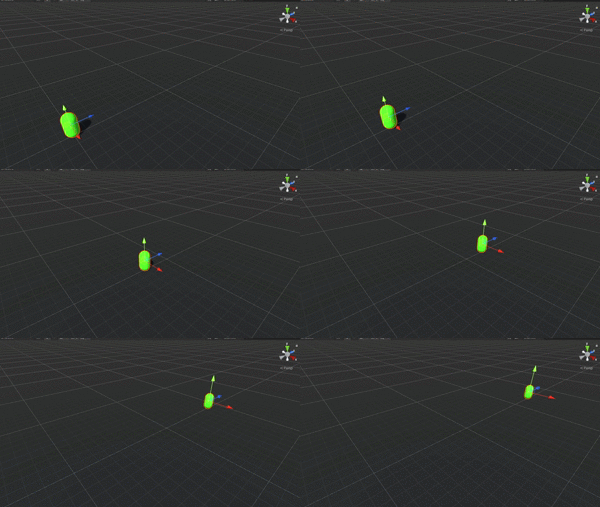
    private Rigidbody rb;
    public float velocity = 5f;

    void Start()
    {
        rb = GetComponent<Rigidbody>();
    }

    void FixedUpdate()
    {
        //移動速度を直接変更する
        rb.velocity = new Vector3(0, 0, velocity);
}Rigidbodyのvelocityを直接変更させると、その移動速度を変更できます。そのため外部から力を加えられても、次のフレームで速度を上書きしてしまえば、ほとんど影響を受けないようにできます。当たり判定も正しく取れるので、キャラクターの移動などにも使いやすい方法です。
Movepositionで瞬間移動
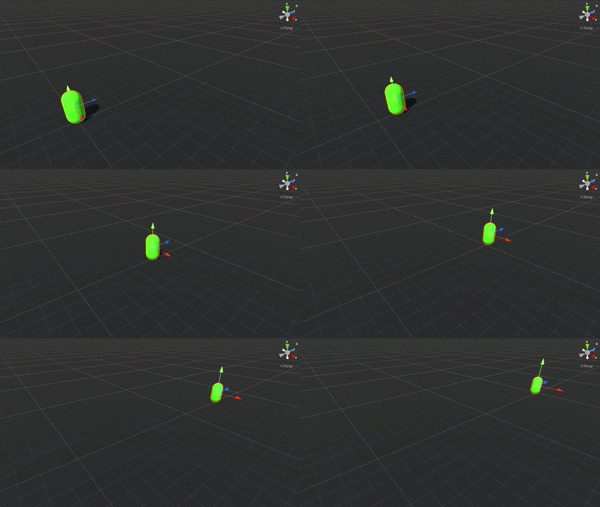
    private Rigidbody rb;

    void Start()
    {
        rb = GetComponent<Rigidbody>();
    }

    void FixedUpdate()
    {
        rb.MovePosition(transform.position + transform.forward);
}RigidBodyがアタッチされたオブジェクトを瞬間移動させる方法として、パフォーマンスが良い方法です。また、RigidBodyコンポーネントのCollisionDetection > Continuous Dynamic(処理は重め)を選択すると、壁抜けをある程度防止することができます。
CharacterController
主にキャラクターの移動用として使われるのがCharaterConrollerです。物理的な挙動は影響しません。
Move(重力あり)で移動
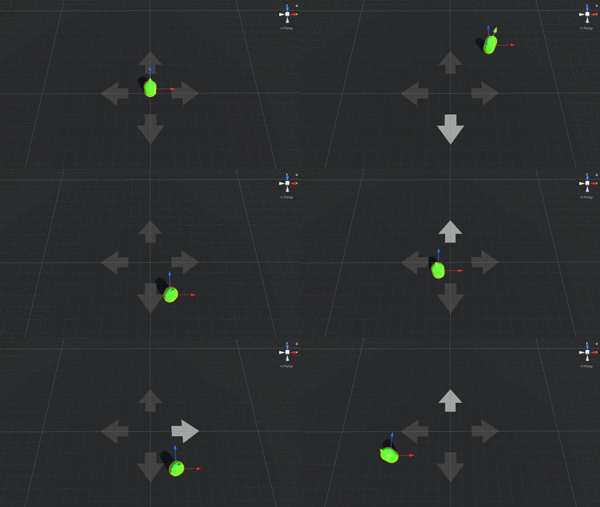
    public float speed = 10F;
    public float jumpSpeed = 8.0F;
    public float gravity = 20.0F;
    private CharacterController controller;
    private Vector3 moveDirection;

    void Start()
    {
        controller = GetComponent<CharacterController>();
    }

    void Update()
    {
        //地面についている時
        if (controller.isGrounded)
        {
            moveDirection = new Vector3(Input.GetAxis("Horizontal"), 0, Input.GetAxis("Vertical"));
            //Transform.TransformDirectionはローカル空間からワールド空間へ方向Vectorを変換する
            moveDirection = transform.TransformDirection(moveDirection) * speed;
            //ジャンプ↓
            if (Input.GetButton("Jump"))
            {
                moveDirection.y = jumpSpeed;
            }
        }
        //重力分変更する
        moveDirection.y -= gravity * Time.deltaTime;
        controller.Move(moveDirection * Time.deltaTime);
    }
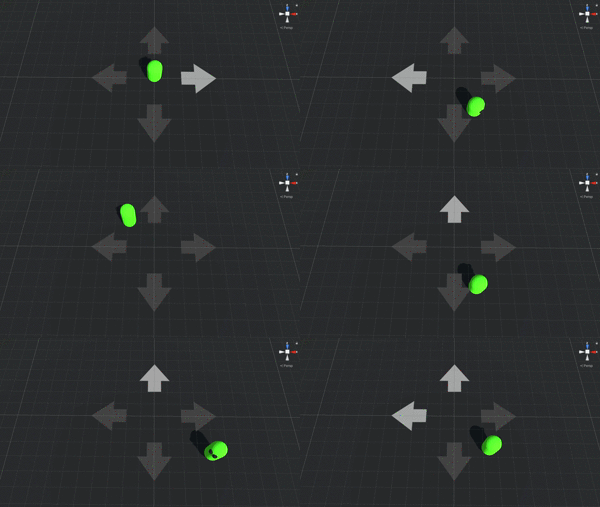
WASDキーで縦横に移動するスクリプトです。ワールド座標の軸を元に移動し、重力をかかっておりジャンプもできるコードとなっています。
SimpleMove(重力なし)で移動
using System.Collections;
using System.Collections.Generic;
using UnityEngine;

public class Player : MonoBehaviour
{
    public float speed = 10F;
    private float rotateSpeed = 1.0F;
    private CharacterController controller;

    void Start()
    {
        controller = GetComponent<CharacterController>();
    }

    void Update()
    {
        //回転させる
        transform.Rotate(0, Input.GetAxis("Horizontal") * rotateSpeed, 0);

        //Transform.TransformDirectionはローカル空間からワールド空間へ方向Vectorを変換する
        Vector3 forward = transform.TransformDirection(Vector3.forward);

        //前進後退する
        float currentSpeed = speed * Input.GetAxis("Vertical");
        controller.SimpleMove(forward * currentSpeed);
    }
}
Input.GetAxis(“Horizontal”)のADキーで左右回転させて、SimpleMoveの値にInput.GetAxis(“Vertical”)のWSキーを入力して前進後退します。こちらは重力がつかないやり方なので基本的にはCharacterController.Moveの方が使いやすいかもしれません。
まとめ
Unityで使えるオブジェクトの移動方法についてまとめました。ここで紹介したものが、よく見かける実装方法になります。どの方法にもメリット・デメリットがあります。目的や状況に応じて使い分けるようにしてください。主な使い分けとして、
- 物理挙動なし → transformを使った瞬間移動
- 二点間の移動 → Vectorの関数を使った移動
- 衝突、当たり判定をつけたい → RigidBodyで移動
- キャラクターの移動 → CharacterControllerで移動
Unityでは移動方法がたくさんあるので迷うかもしれません。まずは色々試してみる事をおすすめします。

最後のスクリプトのcurrrentSpeed(26,41)、rが一つ多い気がします
修正しました!ありがとうございます!
「Lerpによる二点間の等速直線移動」の部分で速度を変える方法を教えてください
Lerp(a, b, t)の補完値tを調整してみてください。「二倍速にするなら、tに×2をする」という感じです。